Why does my Zhuhai CTC Prusa I3 make mirrored prints?
Maybe I set it up wrong
Recently, I was able to buy one of these Prusa style 3D printers (Zhuhai CTC Prusa I3) at a really good price - around a third of the cost of my 3DR kit. It was advertised as a DIY kit, but some of the reviews mentioned that most of the assemblies and the hard construction were ready-assembled, so mostly you were putting together these. Once assembled, I had a issue with the prints it generated being mirror images of the 3D models I put into it. Read on to find out why this was, the mistakes I made, and what I needed to do to fix it. And how a little bit of knowledge can be a dangerous thing...
Once I had it all assembled - which took the 3 hours that a review said it would - I powered it up briefly and tried using the LCD controller to move each axis gently, to see if I had the wiring right. I assumed that a positive number on the panel would move the axis away from the end stop, and a minus move it towards... It seemed to be doing the opposite. Also it only seemed to move away from the stop, and not back towards it. The stepper seemed to pulse but not move one way, and advance the other way. Strange. It was now quite late, so I decided to put it all away and do the commissioning another day.
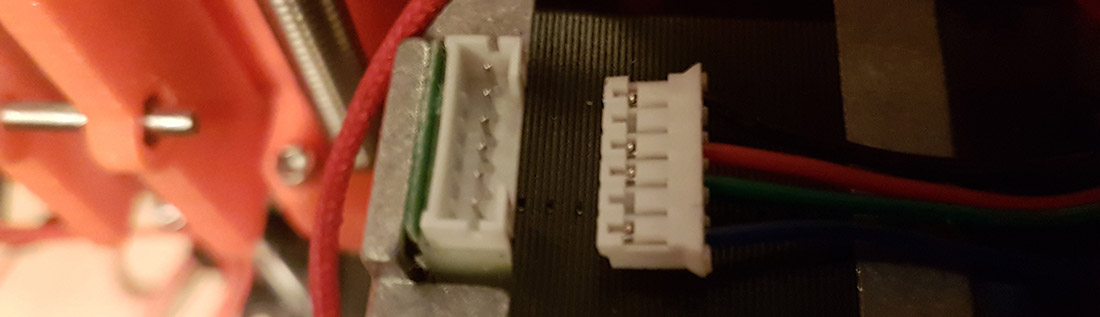
A bit of googling revealed that if your steppers were going the wrong way, you had to plug the cable plug in the other way around.
This sounded simple but the plugs were keyed - so you can't really do this.
Thankfully the sleeving on the wires was quite short - which meant I could get to the wires easily and reverse them which would be the same thing as reversing the plug. Some soldering and some heat shrink gave me a neat little 'fix':
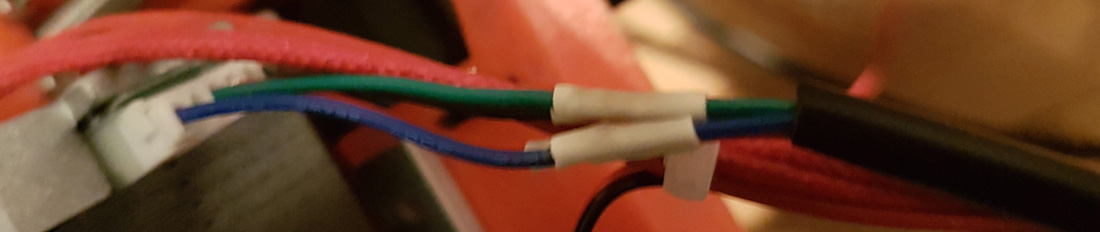
Once these were swapped around (it was only the X and Y axis which were doing this) the device auto homed correctly and the move access control on the LCD worked. I thought this would solve the problems. But read on.
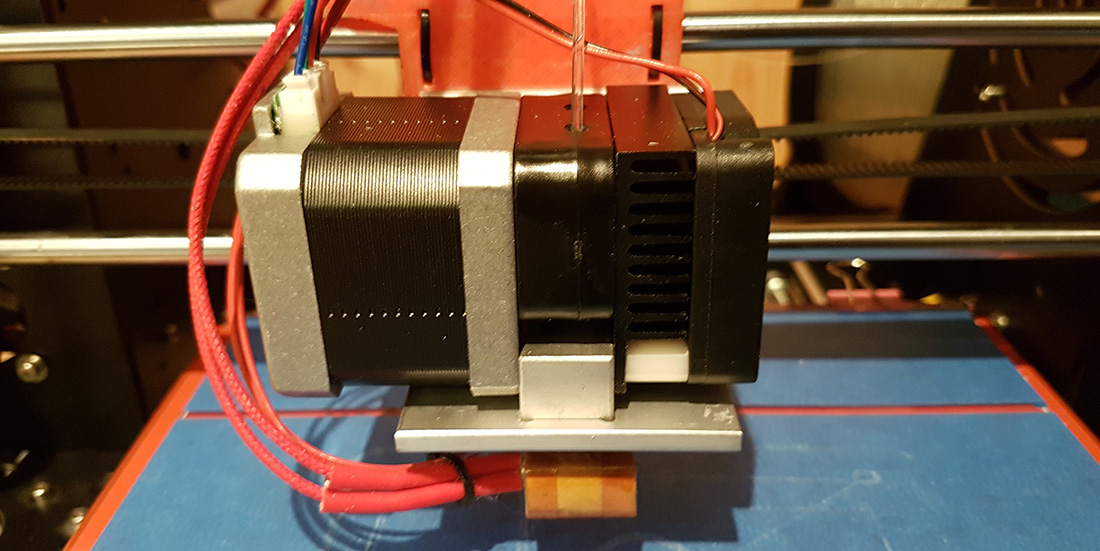
As an aside, I had one more glitch before I got this thing printing. The extruder stepper would not feed. It has two holes in it: one pulled the filament in, the other forced the filament out, but the feed in did not line up with the hole on the hot plate that fed through to the hot end. Why was this? It was because the instructions had told me to take apart the hot end assembly and swap the stepper and fan around so that they changed places… I reversed these instructions, and put them back in the same position that they were supplied in (see photo below.) Now everything lined up and once the hot end was heated then the extruder extruded.
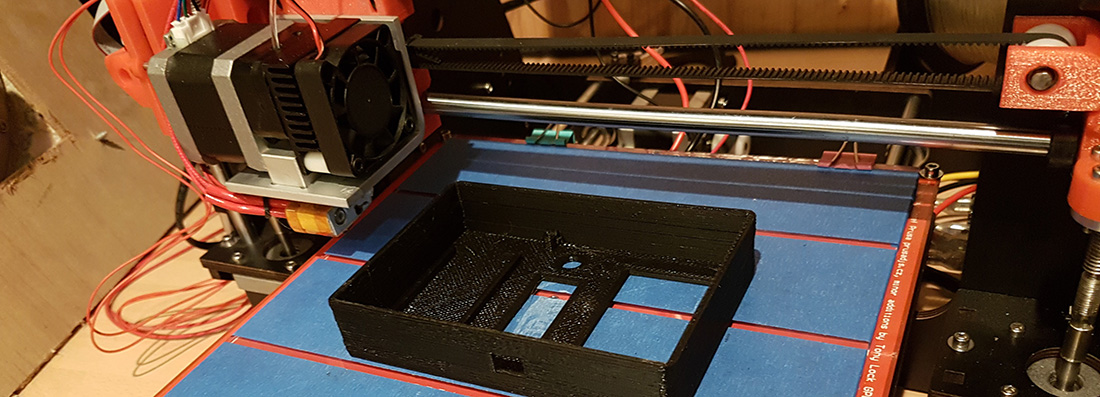
Back to the main plot. The first print I did was for a case for a GM328 component tester which I had bought from banggood a while ago. It printed out beautifully:
I was really pleased with the quality of this, for a first print. The sides also were way better than something that the 3DR would have produced. Then I came to fit the component tester into the case. And the holes were on the wrong side. At this point I just thought I had picked the wrong model from thingiverse. But then I noticed that the numbers on the front of the case (12312312) were mirrored. Something was off here. I checked the model in slic3r, and the numbers should not have been mirrored when viewed from the outside of the case. So it looked like it was an issue with the printer. After more scratching of my head, I worked out that the only way I could produce a mirrored print was if the steppers in the x (or y) direction were going the wrong way. And of course, what had I done? I had altered the wiring so that I changed the direction of the steppers - albeit that was to put them into what I thought was the correct direction.
Then the eureka moment. I had put the X and the Y steppers in the wrong sockets. If you did that, then it would make them move the wrong way - because they are positioned in different orientations to each other on the printer.
So - a quick change of plugs, and a slightly slower desoldering the wires of the stepper cables back into the original wiring pattern, and my printer was now working and commissioned and ready to print.
For reference - here are some pictures of my correctly setup I3 showing the names of the steppers and the plugs they should plug into.
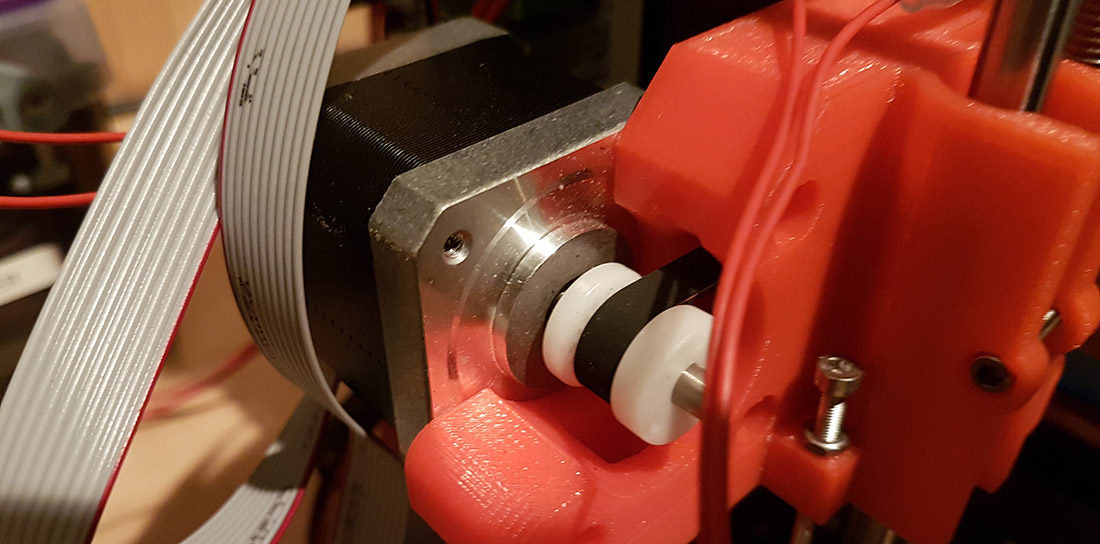 X axis stepper
 Y axis stepper
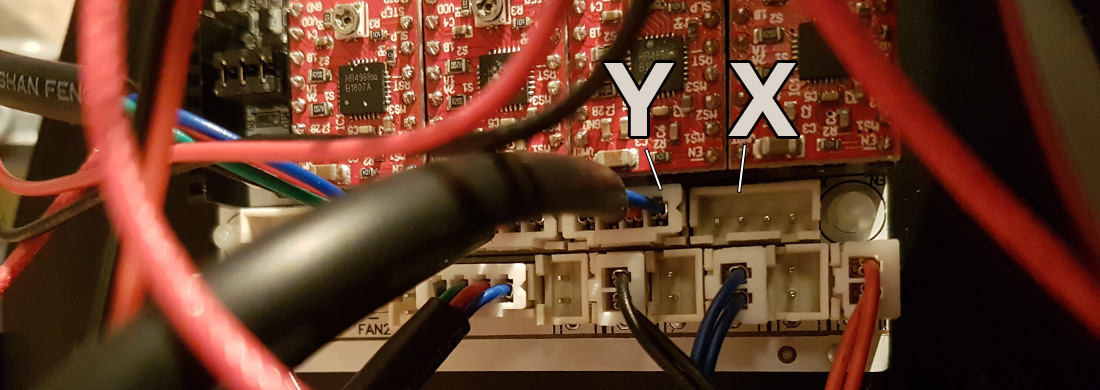 Sockets on control board (Y is plugged in already in this picture)
24-Mar-2017 Add comment
blog comments powered by Disqus Permanent Link