Converting a laptop screen LTN141XF-L03 into an HDMI monitor - part 3 - language
Changing the OSD Language
Now I have the hardware set up and got the screen working correctly, I just need to be able to read the onscreen display in a language I can understand. The firmware defaults to Chinese after flashing, and although resetting it to English is not difficult, I needed to know where to find the language settings first.
I tried for a while to guess the settings by random key-presses, but because I couldn't read the word 'Chinese' in Chinese characters I needed help. In the end I found instructions hidden in a seemingly suspicious PDF file at 'ElecRealm'.
So here is what you need to do.
Check that the remote has batteries in and the board is receiving commands from the remote (does the LED flash on the sub-board when you press a button on the remote - or even easier - does the board turn off and on with the red and green buttons?)
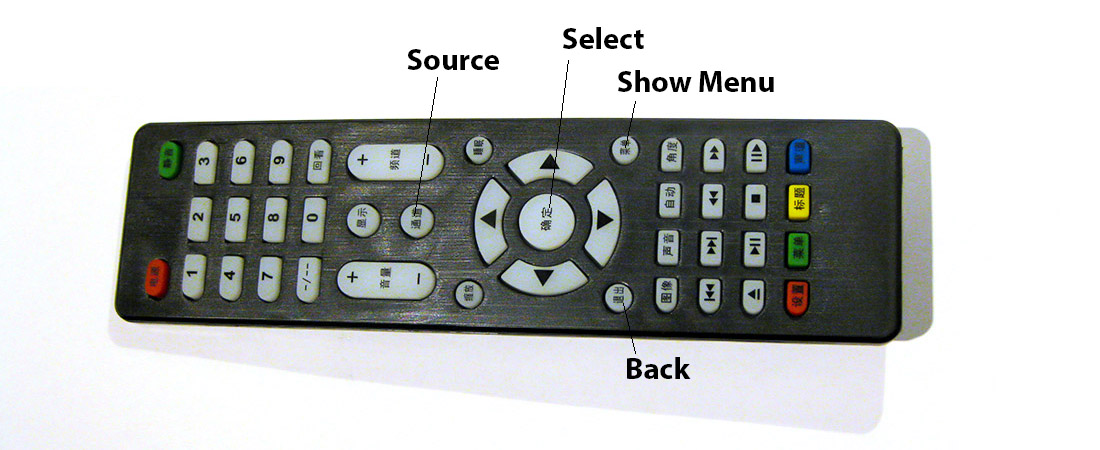
Refer to the image below for the relevant buttons to use on the remote if yours is a Chinese labelled one:

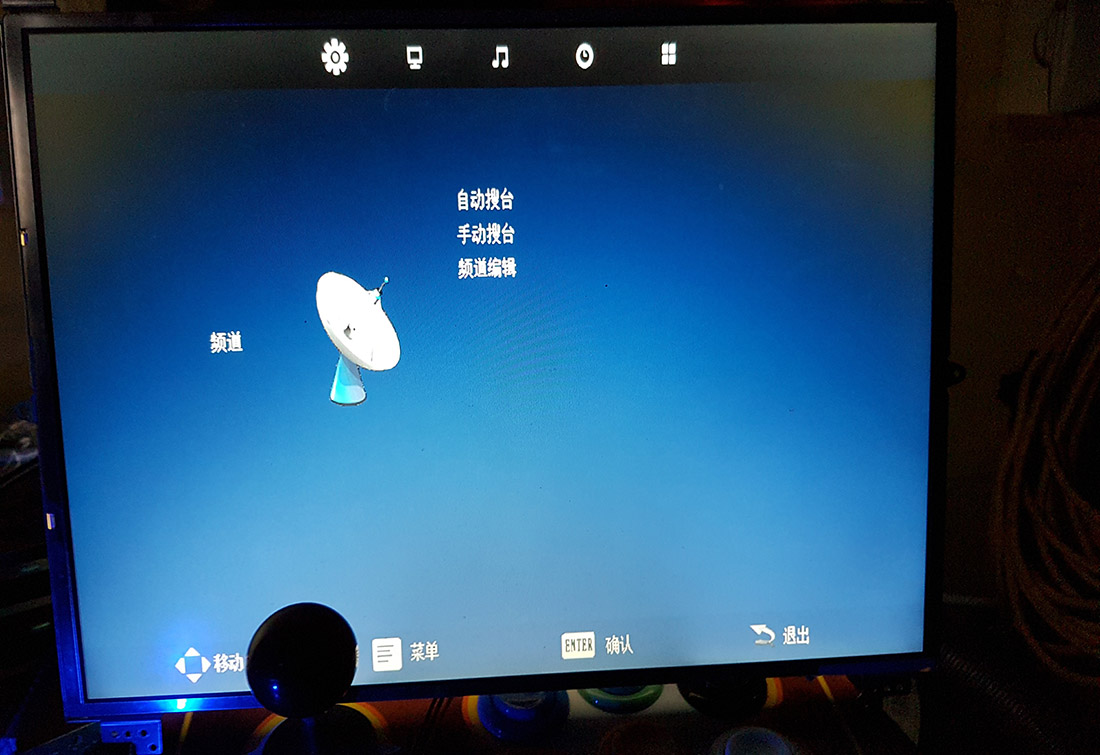
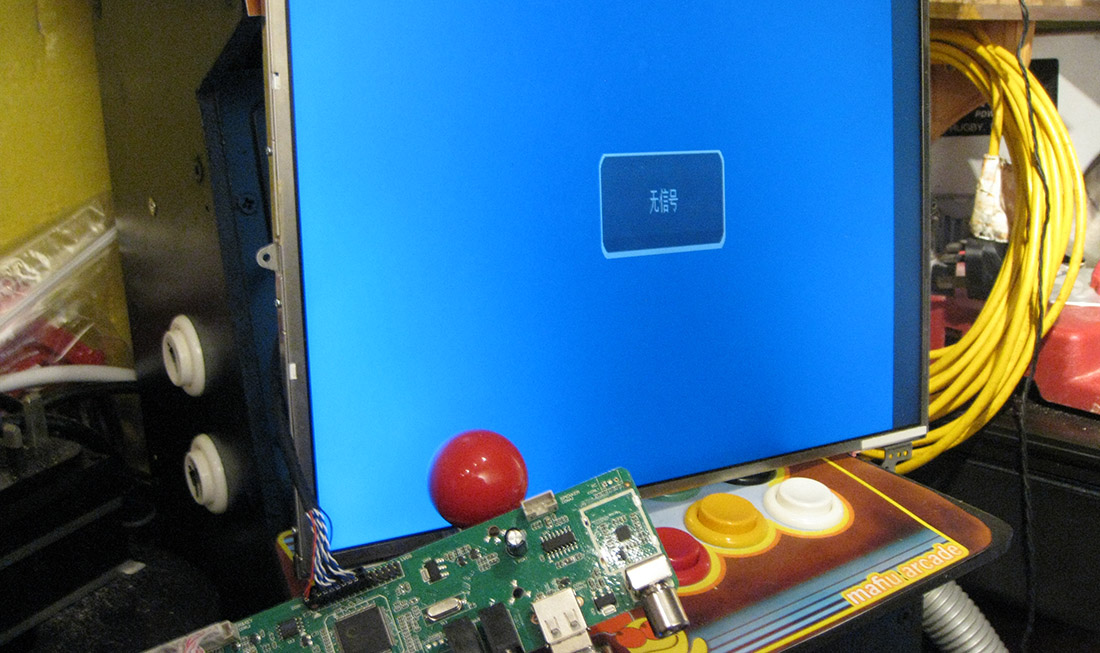
When you power on you should see the floating Chinese message as shown at the top of the post. Press the show menu button on the remote and you should see this:

Use the right arrow on the remote a few times to get to the screen that has 4 squares on it - a bit like the a windows logo:

You should now see a a new selection on the page with the top item selected:

I believe this says ‘Chinese’. Press the middle select button on the remote. Press select again to see all of the language options and a press of the right arrow key on the remote should show English (or another language you might prefer).
Press select and the OSD language should now all be in English (or another language if you selected one)

Press the Back button to come out of the menu system and you should now be able to explore all of the menu options in the language of your choice. Watch the short youtube video below to see these instructions in action:
You can also use the source key to change the input source of the board, as well as to select the option to play media files from the boards USB interface.
20-Jan-2017 Add comment
blog comments powered by Disqus Permanent Link