Serial monitor on headless Pi
Log in on the serial port when you have no monitor or devices attached
What do you do if you are trying to diagnose Raspberry Pi problems on a headless Pi? The particular Pi I had with this issue was one which I was trying to set up as a USB gadget, but that’s beside the point. At some stage you may have a Pi which isn’t on a network (like the original PiZero) and you can’t attach a monitor. In my case I couldn’t even find a USB hub which worked with it - so a keyboard and mouse were not an option either. Here is what I did.
Before I start I need to mention that you cannot do this in isolation. At some point you would have needed another Pi and the desktop or console login to set up your PiZero. So it may be the case that you have to take your SD card out of the problem Pi and put it into one with a monitor to use this technique - and it may be that you could enable this trick at setup on every Pi you create an SD card for. However this does require access to some of the GPIO pins, which your application may already be using for something else. In which case this idea may not be for you.
So the general premise is that to see what a Pi is doing when you have no access to the console or a monitor is to connect to the Pi using a serial monitor mode.
When setting up your Pi you will need to enable this service.
Run raspi-config either in the UI or the command line (using sudo) on your Pi Go to the interfaces menu and find the serial option. Enable this.
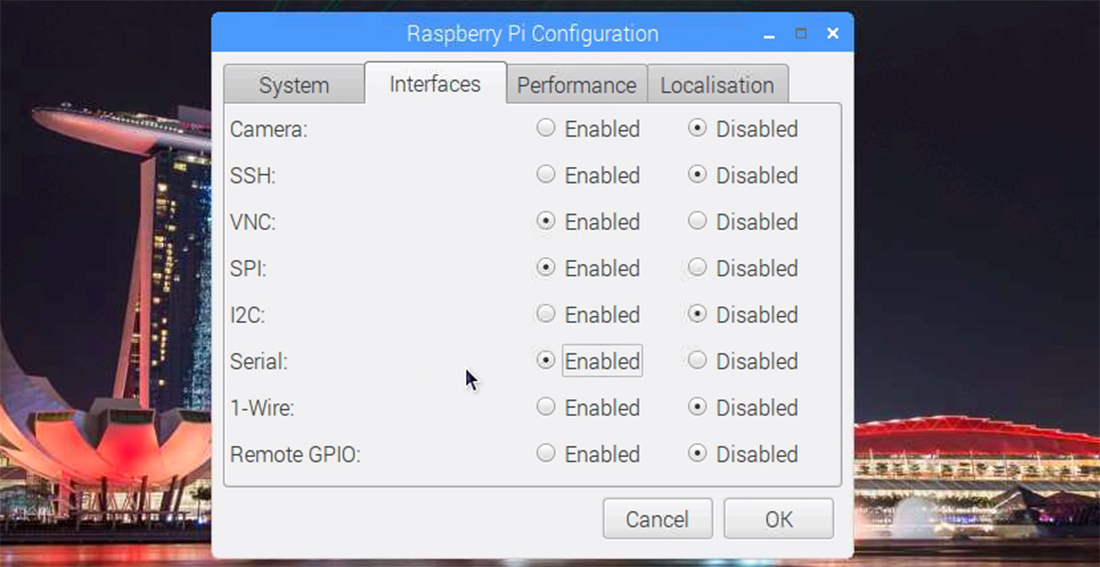

It will say do you want to enable console access over the serial port.

Say yes and then close raspi_config and reboot your Pi in the usual method. If you have other peripherals attached it might be a good idea to make sure that the Pi will still boot and the peripherals still work after this change in case there is a conflict with the pins the serial port uses.
Another way you can change this setting is by putting the SD card in another machine and editing the config.txt file. At the bottom of this file there is probably a line which says enable_uart=0. To enable the serial console then set this to 1. add the line if it doesn’t already exist.

This could also be useful if when you turned the serial port on and tried to reboot, and the boot failed for some reason. You can edit the UART setting back to enable_uart=0 if you think enabling it prevents your pi from booting.
Now your PI is expecting that it may be spoken to on its Serial port. Most modern PCs don’t have a built in serial port anymore - however cheap USB to serial adapters can be found on eBay. Make sure that you get one which will work with your system.
I was using a mac and this is the one I used:
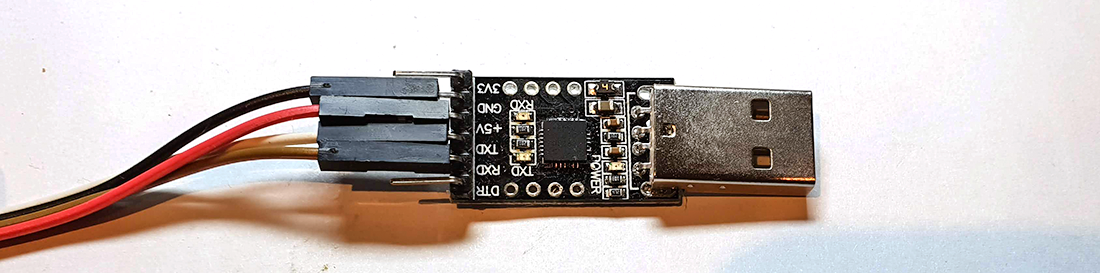
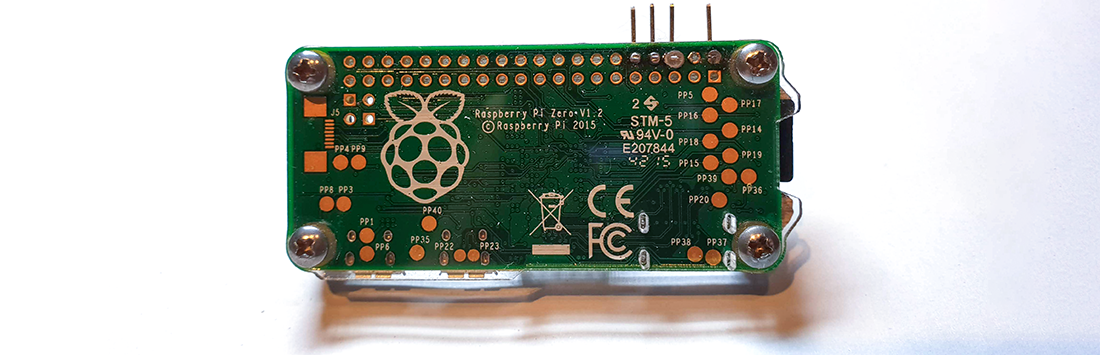
It has a power LED and some tx/rx lights too - which is useful for diagnosing issues. As my PI was normally going to be used in a case without the GPIO header - I took some 90° header pins and soldered 4 onto the card. For my application however - I only needed 3:
- GPIO PIN 3 (Ground)
- GPIO PIN 4 (TX)
- GPIO PIN 5 (RX)
You CAN power the Pi by putting 5V into PIN 1 - however whenever I did this I couldn’t get the communication to work (YMMV) with my setup.
The USB/UART adaptor had more pins than I needed - but all I used to get this working was the Ground and the TX and RX pins. Dupont wires easily connected these all together. TX on one device goes to the RX on the other - and vice versa. In the photo below you can see I was powering the Pi with a simple usb power bank when I got it working.
Once the Pi is booted, and the USB/UART is connected, I used the Arduino IDE to communicate with the Pi. On a Mac the IDE shows you a list of available ports which it can program, and this will highlight the name of the USB/UART device under the Tools > Port menu.
Mine appears on the Mac as cu.SLAB_USBtoUART I select that port on the IDE.
Now on the Tools menu again, select the Serial Monitor option.
This can be used to set up a terminal session via the USB/UART to your Pi. if the Pi is not connected, if you type something on the keyboard or press return in the serial monitor, you should see the lights flickering on the USB device.
The last step is to check that the dropdown at the bottom of the monitor is set to a speed of 115200 baud. Once you are all connected and the speed is set - hit return on the keyboard and you should be prompted with the login prompt for your Pi.
The rest, dear readers, is up to you.
19-Dec-2018 Add comment
blog comments powered by Disqus Permanent Link