A Laser cut case for a barebones PI Monitor - Part 2
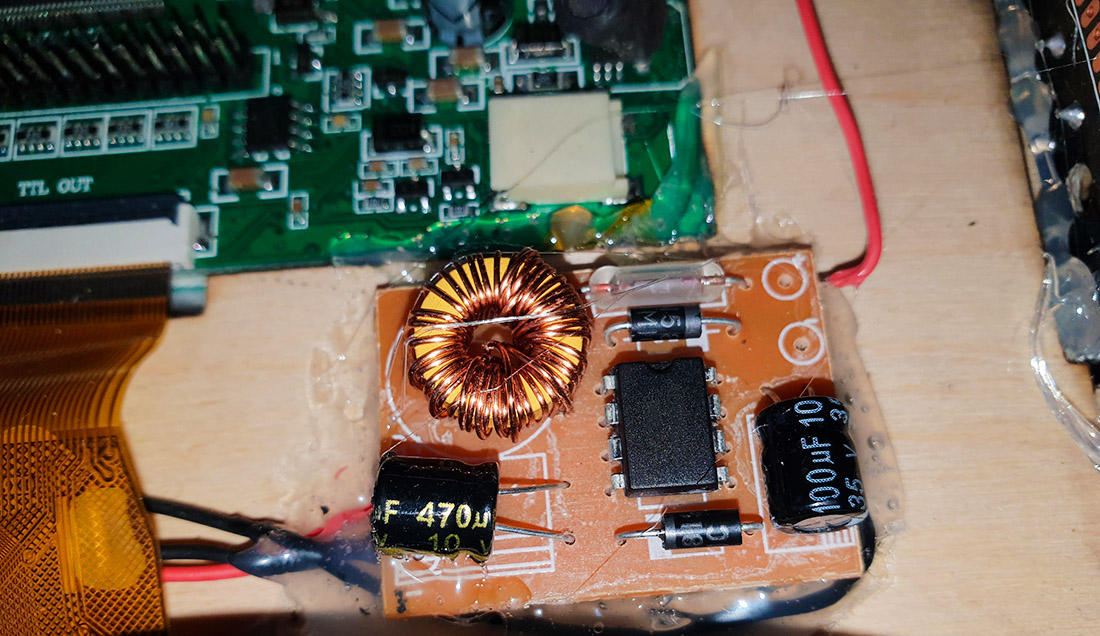
Adding 5v output to power the PI
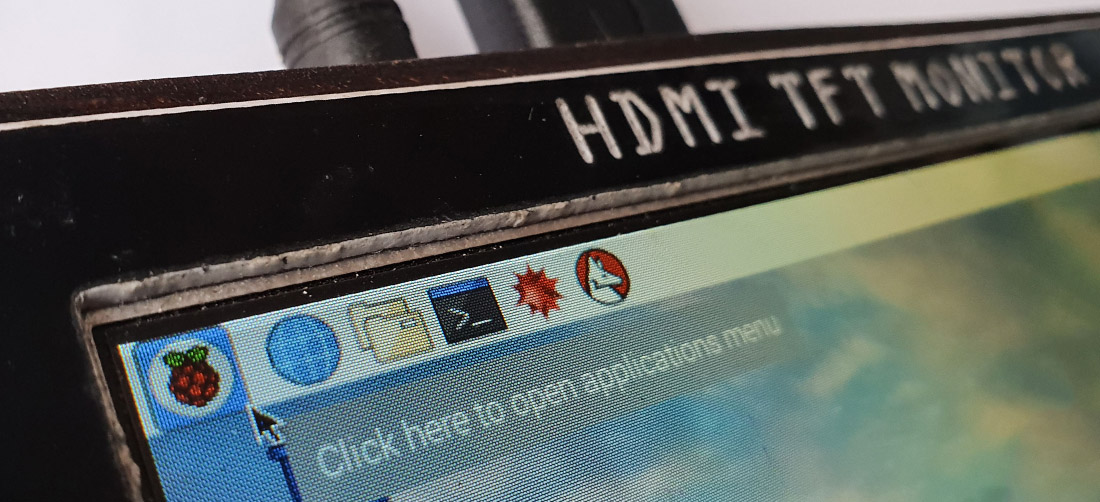
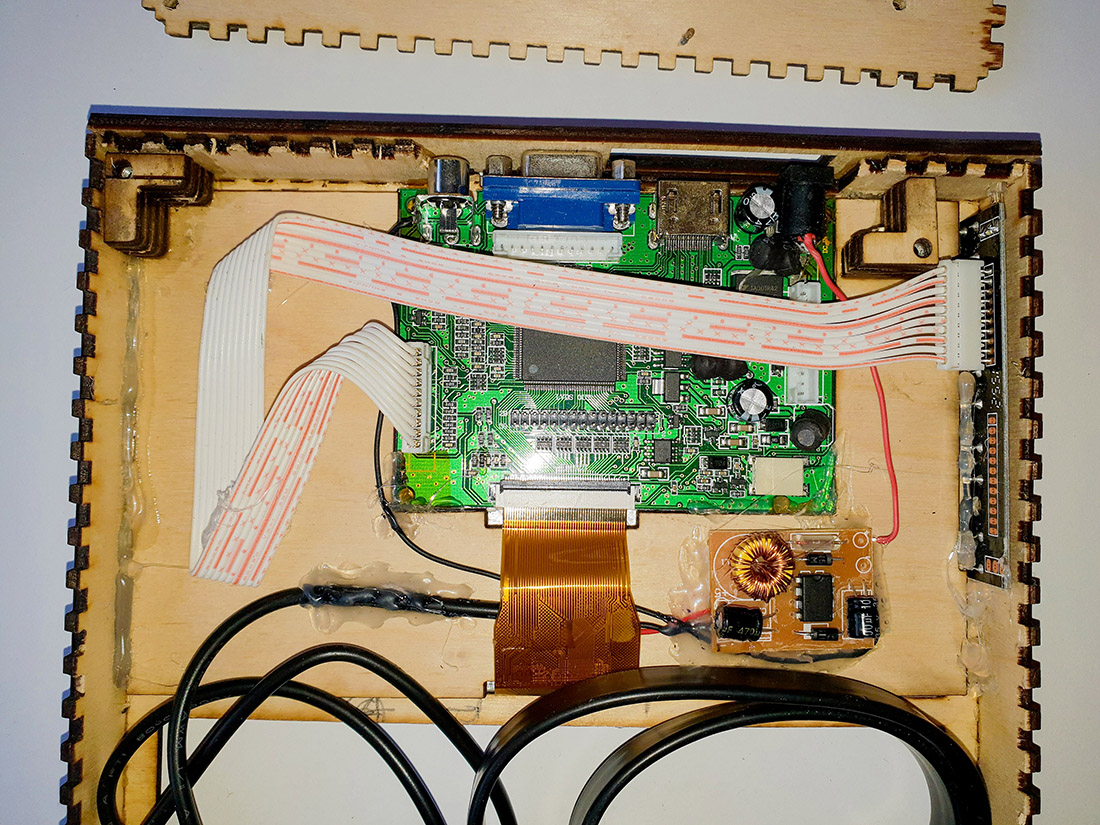
Now my case for the bare bones monitor is actually a case, I have been tweaking the design. As the point of this was to have a small monitor to use when I needed to see what a Raspberry PI was doing - I thought it may be an idea to add a small micro USB power cable to it to directly power the PI.
I have to find a way of leeching the 12V that powers the monitor and converting that to 5v some way. After obtaining a 12v in, 5v out USB cable module intended for use in a car, the video below shows how I very crudely took the 12V from the card and added my power module.
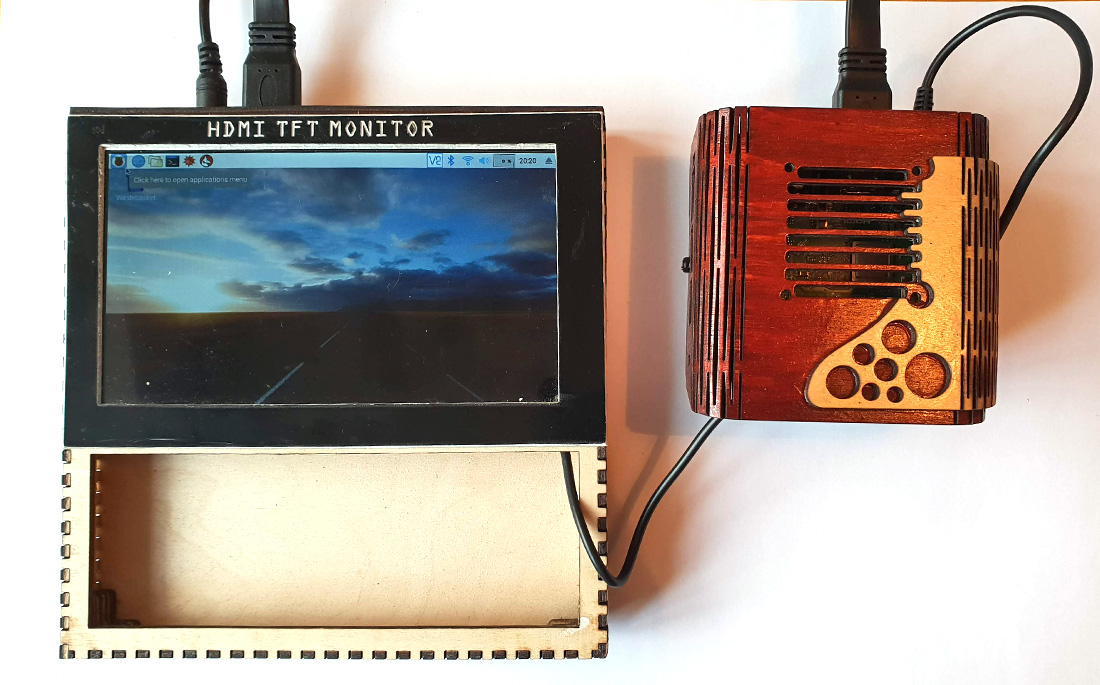
Since the last post I have also updated the case as shown at the start of the video as follows:
- I've added some holes and feet to the back of the case which correspond to some captive nuts held between brackets inside the case, to enable me to open and close the case if I need to using screws (as opposed to just gluing it shut together.)
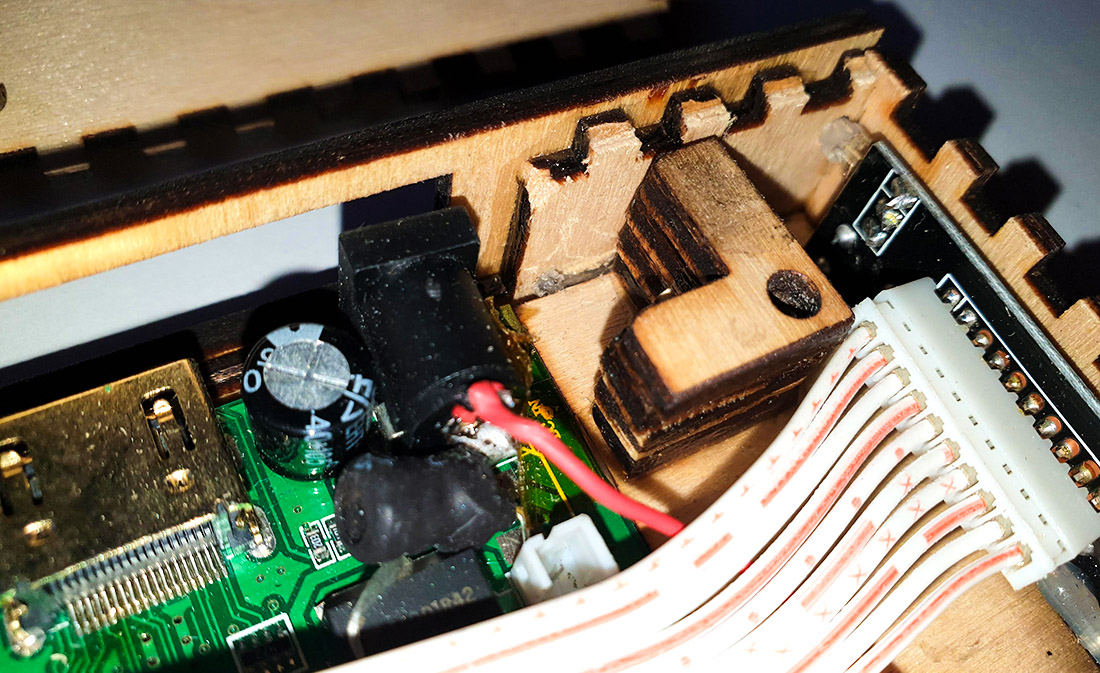
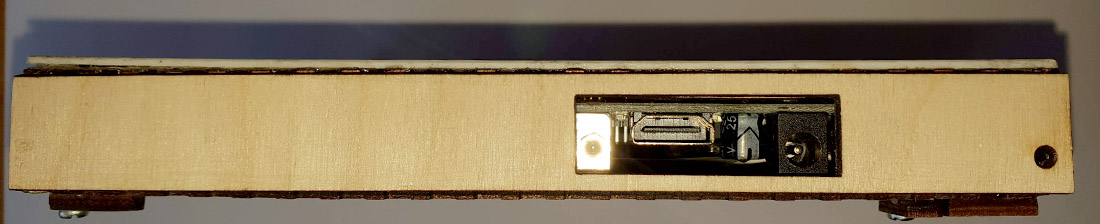
- I also had difficulty aligning the circuit board with the hole that I originally cut in the sides, and as I had already glued the case together - I ended up cutting a new simpler panel with an opening for the HDMI and the Power connectors, and sticking this whole side over the messed up side - like a laminate - to make the hole cut-out look better.
Try searching for 12V to 5V hard wire power adapter cable on eBay to get one of these cable modules.
24-Aug-2018 Add comment
blog comments powered by Disqus Permanent Link